How To Get Your OEC Via Appointment (Philippines)
When I first applied for an OEC, it was last December back in Abu Dhabi. I thought I was all set to go home for the holidays when a colleague of mine asked me, "Okay na ba OEC mo?" To which I replied, "OEC? Ano yon?" (laughs)
To put it simply, OEC is something that you need before you depart from the Philippines to prove that you are an OFW, thereby exempting you from paying travel tax and terminal fee at the airport. It was made mandatory for OFWs to present an OEC after visiting PH and before going back to where they work. This is to help ensure that us OFWs are documented and protected. But when I was told that the queueing can be time-consuming and that I have to be early at the Philippine Embassy in AUH so I can get a number then wait for my turn. I admit, super hate ko ang maghintay sa pila, lalo na ang gumising ng maaga so I immediately said to myself, "I'll pay the travel tax na lang!" But of course I did what my other fellow OFWs have been doing so yes, nakipila ako sa embassy to get a number then went to work and then went back again after lunch to wait for my turn. Of course you had to assess first as to what time your number will be called. When we went back around lunch time, we had to wait for another 3 hours before we finally got our hands on the OEC.
But before we went to the embassy nga pala, I paid my one year contribution to PAG-IBIG. The last time I paid was 2009 na, before I worked as a consultant and dahil tamad ako, I haven't been paying eversince. I had to email PAG-IBIG to ask what my member number is. Good thing they reply immediately. By the way, you don't really have to pay one year contribution, I think one month is fine. I also photocopied my employment contract and brought my passport together with the proof of my payment to PAG-IBIG.
At the embassy, you will 1) have your contract verified (if I remember it right, you'd also be paying a fee for this), 2) Pay for OEC processing and 3) Pay for OWWA Membership. There's also an application form to be filled out and you have to give them a copy of your contract, passport and proof of your PAG-IBIG payment. Sorry if mejo magulo na the steps, that was last December pa and because of old age, hindi ko na maalala ang exact steps. But that was pretty much how I got mine when I applied for an OEC
for the first time.
But this post is actually not about how I got my OEC in Abu Dhabi. Hehehe, sa haba ng kwento ko di pa pala yun ang totoong kwento ko. This post is about how I got my OEC here in PH. Yes, here in PH since I didn't have the time to get one back in AUH. Besides I know naman that I'll get to stay longer than when I went home last December so I decided to just get it here instead.
So how did I do it? I did it by securing an appointment online. Here's the complete steps of how I did it.
1. I went to Balik Manggagawa Online Processing System, url is at https://www.bmonline.ph

2. And since it was my first time to use the system, I signed up as New User.

3. When you check on the "I accept the Terms of Service" you'll see this pop up:

4. Clicking on ACCEPT will bring you the Sign-Up page, just click on Sign Me Up to get this:

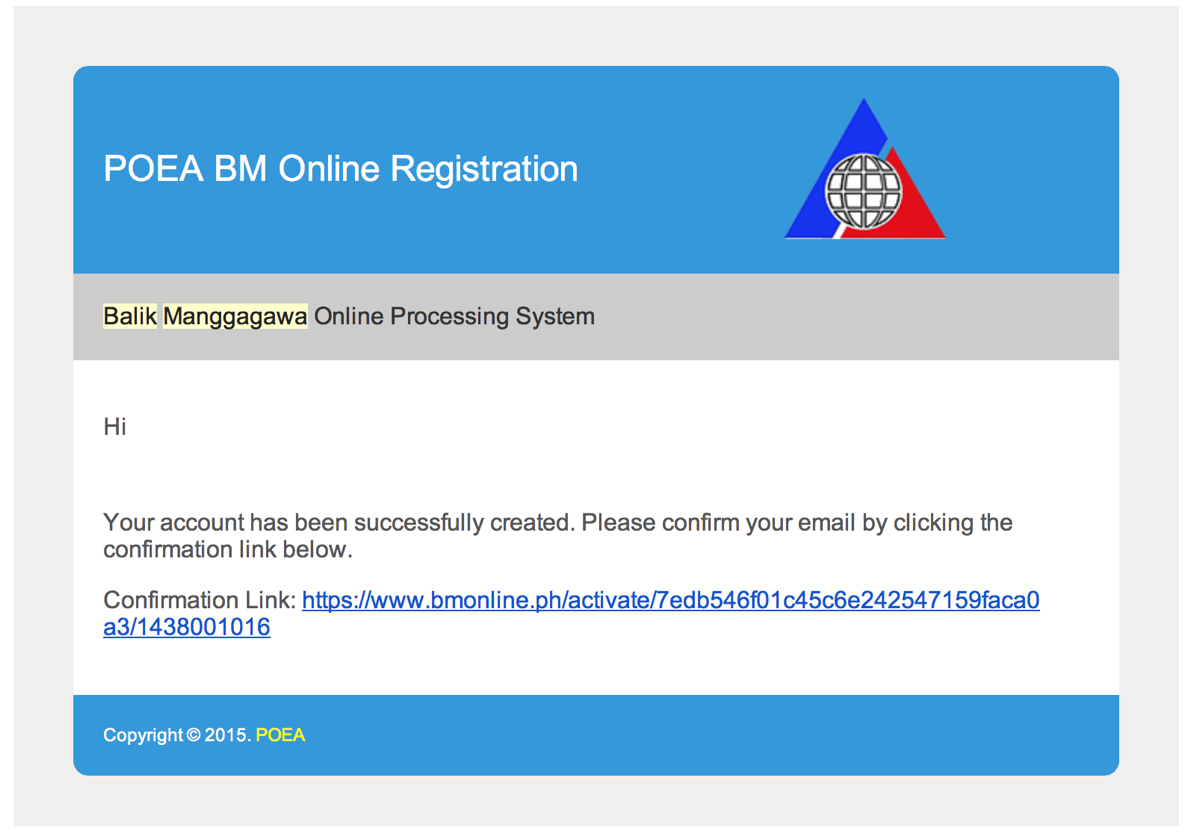
5. Log-in to the email account you used to sign up and click on the link as below:
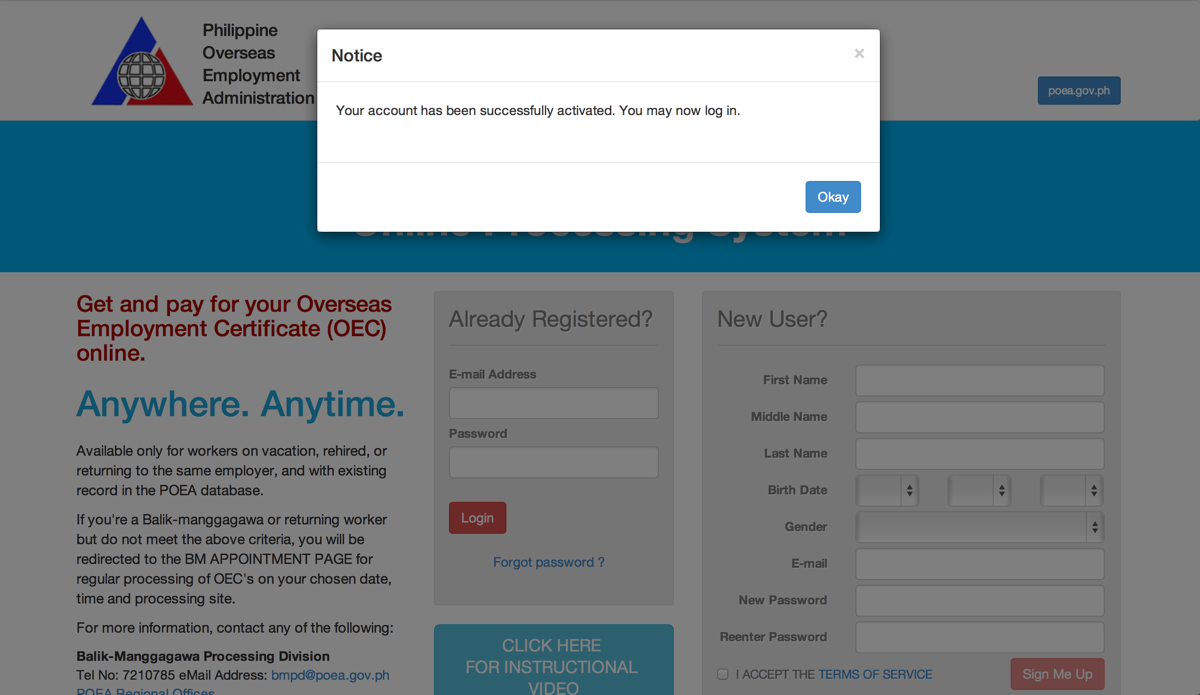
6. You'd see this page below when you click on the link. Just click on Okay and you can now Log-In using the Email Address and the Password you have provided when you registered.
7. When you log in, you'd be asked to provide your last issued OEC Number or your Passport Number.

I already have a previous OEC so I put in and got a Record not found. I tried my Passport Number next and got the same thing.

8. I panicked a bit but thanks to a friend who told me that it's fine, it might be because records are not yet updated. Weird but she told me to just go ahead and create an appointment, So I clicked on CLICK HERE (on the pop-up on the above photo) and so I got on the My Profile page where I need to input my information. Make sure to provide information on all mandatory fields so you can proceed with the next step.

9. Once all required information have been saved, you'll see a NEXT STEP button on the right side of the page:

10. A photo is also mandatory so if you haven't uploaded one, you'll get this:

To upload a photo, just hover on the photo section on the left part of the My Profile and you'll see Change Photo. Click on that and choose Upload Photo.


11. Once a photo has been uploaded, click again on NEXT STEP button on the right side of the page. You'll be asked to enter your expected flying out date. Take note of the important reminders displayed then click on Submit.

12. Next, you'll be asked to select a location on where you'd like to get your OEC:

In my case, I chose Philippines and then the POEA Office in Trinoma because it's the one nearest to me.

Then, click on Next.
13. The next page will let you choose your appointment date and time, as below:

14. Choose a date and click on the time you preferred. For this tutorial, I chose August 6 at 10AM. After clicking on the appointment time on your chosen date, you'll see this:

Click on Set Appointment.
15. To check on the appointment you have made, click on the My Transactions option on the left side of the page, then click on Appointments tab.

16. You need to print out your Appointment sheet, so on the page above, click on Print Info Sheet to get this:

Make sure to sign it at the provided space on the bottom of the page.
To check on what documents you'd need, click on Documentation option on the left side of the page:

In my case, I prepared the following:
a) Passport
b) Photocopy of the first page of Passport
c) Photocopy of my visa
d) Copy of my employment contract
e) Receipts of my previous payment to PAG-IBIG and OWWA
f) Copy of my first OEC
Items d, e and f are not really required but I was just thinking that it might come in handy so I brought them with me.
17) I made sure I arrive on time on my appointment. I approached the first guard positioned at the entrance and when I told him I have an appointment, he asked me go straight inside. I was then asked by the guard inside if I have an appointment and when I told him I have, he just asked me to take a seat next to the others who also seem to be in line.


18. When it was my turn, the lady at Step 1 section asked for my Appointment Sheet and my original passport. I also handed her photocopies of my passport's first page, my visa and my previous OEC.

After less than 5 minutes, she asked me to write my name on the log book then handed me this:

According to her, I need to pay via Western Union then I'll be able to get my OEC online. She also gave me another number. That is for STEP 2, for OWWA verification. I handed the receipt I paid for my OWWA membership to the lady and after verifying she did tell me that I don't have any dues at the moment. I then waited for my turn for STEP 3, which is for PAG-IBIG and since I have already paid for one year last December, I don't have to pay anything.

19. After less than 20 minutes of being inside, I went out to pay via Western Union, Good thing, there's a Western Union right outside the POEA office. Guess what, it took me a lot longer to wait for my turn to pay. Turns out there's only 1 attendant. I think it took me almost 30 minutes of waiting.
20. When I got home early evening after a few hours of roaming around the mall (laughs), I checked my Balik Manggagawa account and there it is, my OEC! Just go to My Transactions then on OEC Requests tab.

And this is how it looks like:

Sorry, I had to erase the details.
^_^
By the way, make sure to have 3 copies of this page when you go to the airport.
So there you go. Sorry for the loooong post, but I hope I'd be able to help in case you want to know how to get an OEC via appointment.
Tata!
 Please like me on Facebook ( IambrigittePage ) and follow me on Twitter (_IAmBrigitte_) and Instagram (Iambrigitte)


Comments